
Attract customers to your product
Increasingly faster internet bandwidths and more efficient graphics chips make it possible to run interactive 3D graphics on websites. Besides the "wow effect" such a solution provides an opportunity to familiarise potential customers with your offer, let them view you product from every angle and significantly increase the amount of time they stay on your website or the online store. In other words, it's a playground for your prospects that helps them to decide whether they are interested in the product.
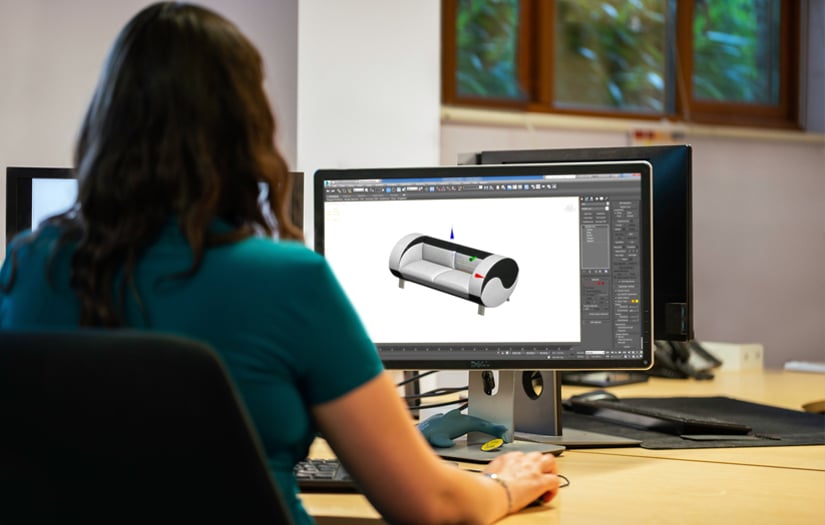 Presenting products in 3D on your website is now simpler than ever
Dedicated 3D module on HubSpot
During the lockdown, we have noticed a huge demand for presenting the product offers as 3D models in online stores. Usually, implementing 3D models on a website is rather expensive, time-consuming and requires some tech knowledge. Therefore, our main goal was to focus on making the process as easy as possible. If you already use HubSpot CMS and have your own 3D models, it will take you just a few clicks to place them on your website. All you need is our 3D module, and do a few quick steps.
How to add a 3D model to your website on HubSpot CMS:
- Get the 3D module from the HubSpot Asset Marketplace (it will be automatically added to the design manager).
- Go to the HubSpot page editor and drag-and-drop the 3D module to your website.
- Replace the default 3D model with your own design.
- Turn on auto-rotation. The model will rotate 360 degrees in a loop (optional).
- Set the background colour to fit your website’s look and feel (optional).

Adding the 3D Model module on HubSpot CMS takes only a few clicks
Preparing the 3D model
In this section of the article we discuss pro tips for more advanced users who would like to create their own 3D models rather than using ready-made projects.
Currently, our module supports .babylon and .glb files. Glb extension is the part of glTF standard. It can contain 3D model geometry, materials, scene graph hierarchy, and animation. If your model uses textures you should use a .glb file, because it stores textures inside the file. To prepare a 3D model properly, you can use typical 3D software like Blender, 3ds Max, Cinema 4D, Maya. Blender exports .glb files by default. For other software, you should use plugins prepared by the Babylon.js team. You can find the Babylon.js plugins here.
To export .glb files you may use the sandbox made by Babylon.js as well. It's a great tool also for testing your model. Just drag-and-drop .gltf, .glb, obj
or babylon file, check if it looks correct, and then click the Display inspector button, then click on Tools and Export to GLB. Your model is ready for uploading to HubSpot files library and you can use it in our module.
Just remember if you create a 3D model for a website, it should be well optimised. A model with a low number of polygons (low-poly) is highly recommended. High-poly models take too long to load and don't run smoothly on older devices.
Textures of the model should not exceed 1024 x 1024 pixels. If you are interested in a photorealistic look, we recommend PBR (Physically Based Rendering) materials. They are a standard format in .glb files. We also recommend checking the full documentation, where you can find more information on how to use it.
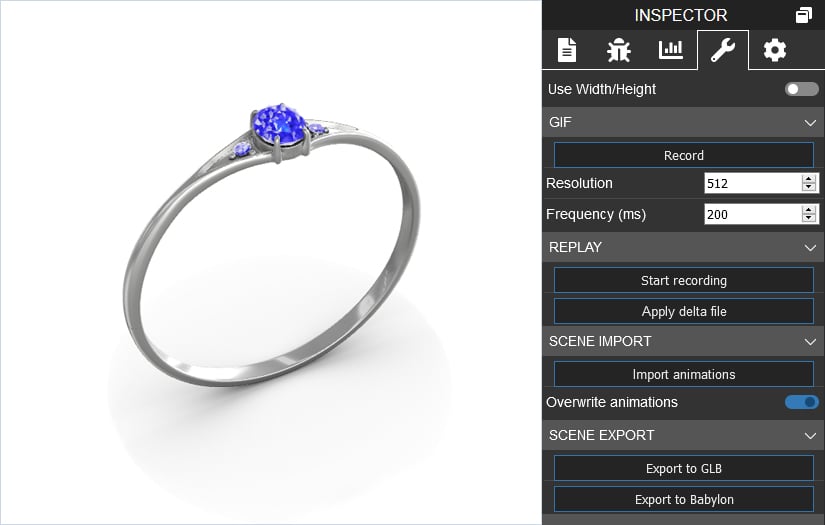
Babylon.js inspector is a useful tool for validating and exporting your model
If you need any help with preparing a 3D model or have any questions about our module, don't hesitate to contact our 3D consultant directly: arek@chimeraprime.com.
We can create custom 3D models for your business
Finally, if you aren't a HubSpot user and don't want to create a HubSpot account, we can design 3D models on demand and integrate them with your website as a custom solution.